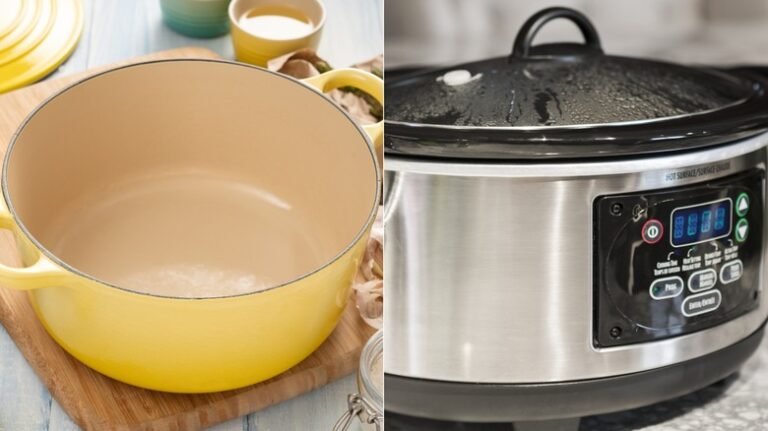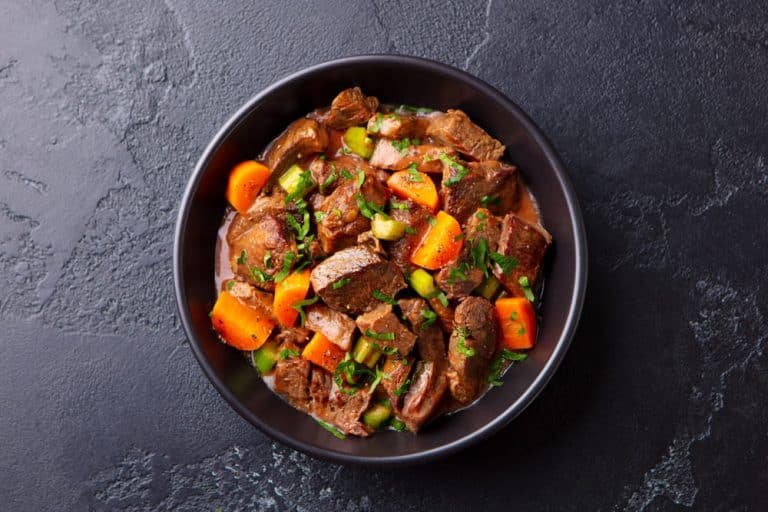
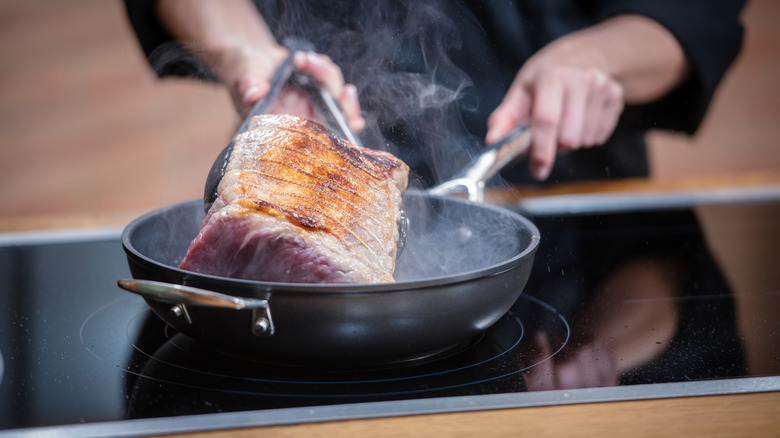
To sear a roast before slow cooking, pat the meat dry, season it, and brown it in a very hot, lightly oiled skillet for about 2 to 4 minutes per side. Then move it to the slow cooker or Dutch oven and cook it with liquid until tender. Searing adds a dark crust and deeper flavor, but it does not seal in juices.
This method works well for American favorites such as chuck roast, brisket, pork shoulder, and pork loin. It also helps vegetables and cooking liquid taste richer. The key is to brown the meat quickly without cooking the inside too much.

Why sear a roast before slow cooking?
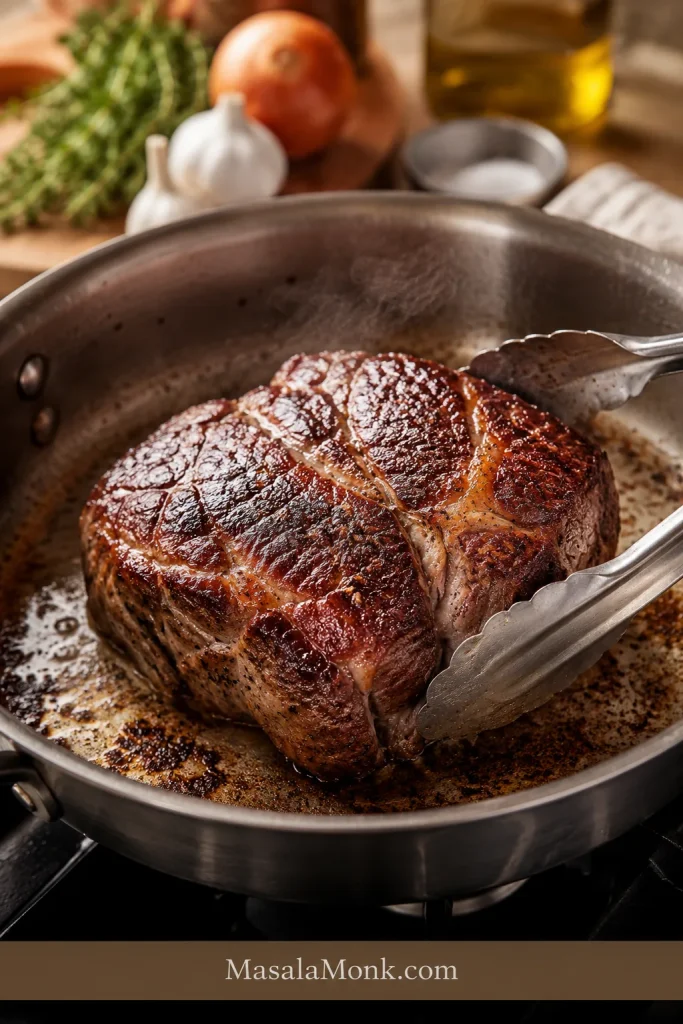
Searing creates browned flavors on the outside of the roast. High heat triggers the Maillard reaction, a group of chemical reactions between proteins and sugars that produces savory flavor, a brown crust, and roasted aromas.
Searing does not “lock in” moisture. That common cooking idea is not supported by the way meat loses water during cooking. A roast can still lose moisture after searing, especially if it cooks too long or at too high a temperature.
Searing is also not required for a safe or tender slow-cooked roast. It is a flavor step. If you are short on time, you can skip it and still cook the roast properly.
What searing changes
- Adds a brown, savory crust
- Deepens the flavor of the cooking liquid
- Improves the color of the finished roast
- Adds roasted notes that low heat alone may not create
- Helps fond form in the pan
Fond is the browned layer left on the bottom of the skillet. When you add broth, wine, or water and scrape the pan, the fond dissolves into the liquid. This can make gravy or sauce taste more complex.

What you need before searing the roast
Gather the roast, a heavy skillet, cooking oil, paper towels, seasonings, tongs, and a slow cooker or Dutch oven.
A wide cast-iron, carbon-steel, or stainless-steel skillet works well. Avoid a small pan. If the meat fills the pan, steam can build up and prevent browning.
Basic ingredients
- 1 beef, pork, or lamb roast
- 1 to 2 tablespoons neutral cooking oil
- Kosher salt
- Black pepper
- Optional garlic powder, onion powder, paprika, or dried herbs
- Cooking liquid, such as beef broth, chicken broth, water, beer, or wine
Use an oil that tolerates high heat. Canola, vegetable, avocado, and refined peanut oil are common choices. Extra-virgin olive oil can smoke sooner, so it is less useful for very high-heat searing.
Should you salt the roast before searing?
Yes. Salt the roast just before cooking, or salt it several hours ahead and keep it covered in the refrigerator. Salting early gives the salt more time to move into the meat.
If you salt only a few minutes before searing, the surface may draw out some moisture. Pat the roast dry again before it goes into the pan.
Do you need to bring the roast to room temperature?
No. A roast does not need to sit at room temperature for hours before searing. Long periods at room temperature can increase food-safety risk.
Take the roast from the refrigerator, remove excess packaging moisture, pat it dry, season it, and begin cooking. If the roast is very large, the center will remain cool while the outside sears. That is fine because the slow cooker will finish the cooking.
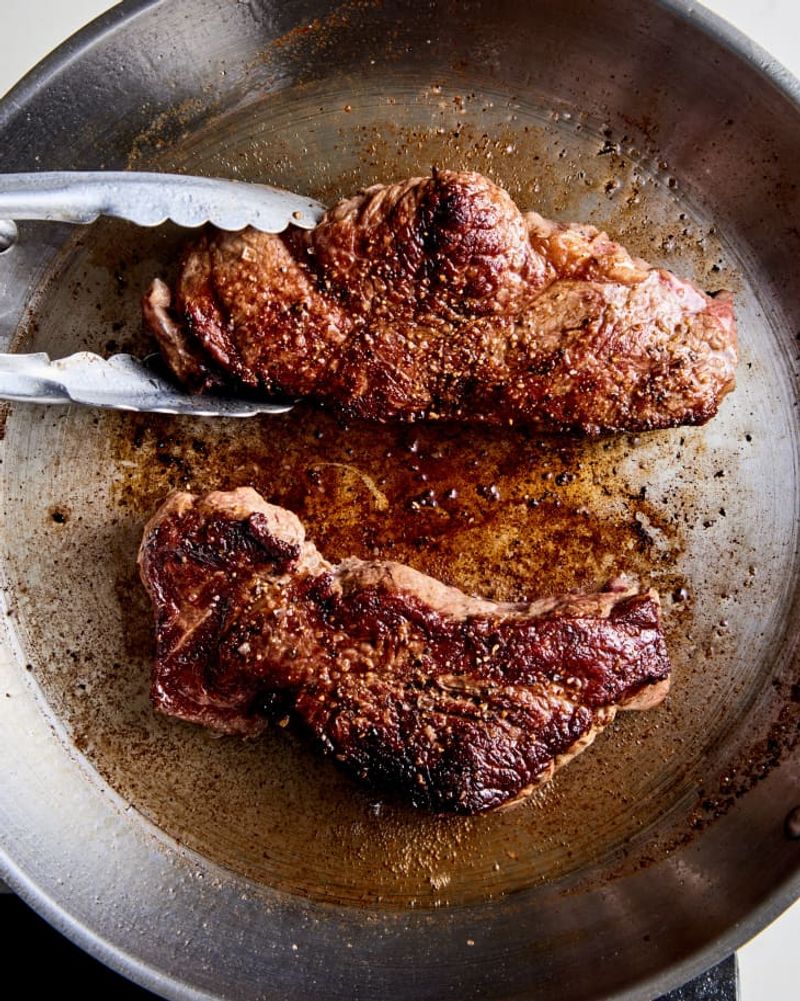
How to sear a roast before slow cooking
Follow these steps for a browned crust without burning the meat or overcrowding the pan.
1. Pat the roast dry
Use paper towels to dry every side of the roast. Moisture on the surface must evaporate before browning can begin.
A wet roast may hiss and steam instead of forming a crust. Drying is one of the most useful steps in the process.
2. Season all sides
Season the roast with salt and pepper. Add other dry seasonings if you like.
Avoid using a thick coating of fresh garlic or delicate herbs during the sear. They can burn before the roast browns. Add them to the slow cooker instead, or use them in the pan after the heat is reduced.
3. Heat the pan
Place the skillet over medium-high heat. Heat it for about 2 to 4 minutes, depending on the pan and burner.
Add the oil when the pan is hot. The oil should look fluid and lightly shimmer. It should not produce heavy smoke.
If the oil smokes strongly, move the pan off the burner briefly and lower the heat. Burned oil can make the roast taste bitter.
4. Place the roast in the pan
Set the roast into the pan away from you to reduce splatter. It should make a steady sizzle.
Do not move the roast right away. Let it sit in one position so the crust can develop.
5. Brown each side
Sear the broad sides for about 2 to 4 minutes each. Sear the narrow ends for 30 to 60 seconds when practical.
The exact time depends on the meat’s shape, the pan, and the heat. Look for an even brown crust rather than a specific clock time.
Turn the roast with tongs. Do not pierce it with a fork, since punctures can release surface juices and make handling harder.
6. Transfer the roast
Move the browned roast to the slow cooker. If you used a Dutch oven, leave the roast in the same pot.
Add onions, carrots, celery, garlic, herbs, and cooking liquid as your recipe requires. The liquid usually should not cover the roast completely. Slow cookers lose less moisture than open pots, so too much liquid can make the finished dish thin.
7. Deglaze the skillet
If you used a separate skillet, add a small amount of broth, water, wine, or beer to the hot pan. Scrape up the brown bits with a wooden or silicone spatula.
Pour this liquid into the slow cooker. Let the pan cool slightly before adding liquid if the oil is smoking. Never pour water into a pan of burning oil.
8. Cook until tender
Cover the slow cooker and cook according to the cut and recipe. Tough beef cuts often need 8 to 10 hours on low, while some pork roasts may finish sooner or later depending on size.
Tenderness matters as much as temperature. A chuck roast may reach a safe temperature before its connective tissue has broken down. Continue cooking until a fork or probe slides into the meat with little resistance.

How hot should the pan be?
Use medium-high heat, but do not chase the highest possible temperature. The goal is a fast brown crust, not a black surface.
A surface that is too cool causes steaming. A surface that is too hot can burn the seasoning and oil before the meat develops an even crust.
| Sign | What it means | What to do |
|---|---|---|
| Little or no sizzle | Pan or oil is too cool | Heat the pan longer |
| Loud popping and heavy smoke | Pan or oil is too hot | Lower the heat briefly |
| Gray liquid collects around the meat | Pan is crowded or meat is wet | Dry the meat and sear in batches |
| Dark brown crust | Searing is working | Turn the roast |
| Black, bitter spots | Heat is too high or seasoning is burning | Reduce heat and wipe out burned oil |
A surface thermometer can help, but it is not necessary for most home cooks. Visual signs and the sound of the sizzle are usually enough.

Should you sear the roast in the slow cooker?
Only if the slow cooker insert is designed for stovetop use. Many ceramic slow-cooker inserts can crack when placed on a burner.
Check the manufacturer’s instructions before heating the insert directly. If the insert is not approved for stovetop cooking, sear the roast in a separate heavy skillet.
Some multicookers have a sauté function. That setting can brown meat in the cooking pot, but work in batches if the roast is large. Crowding lowers the pan temperature and creates a pale, steamed surface.

Should you sear a roast before or after adding flour?
For most slow-cooked roasts, sear the meat first and thicken the sauce later. Flour can burn during high-heat searing, especially if the roast has a heavy coating.
If your recipe calls for dredging the roast in flour, use a thin layer. Shake off excess flour before placing the meat in the pan.
Another option is to thicken the finished cooking liquid with a flour slurry or cornstarch slurry. Mix the thickener with cold liquid first, then stir it into hot sauce to reduce lumps.

Common problems when searing a roast
The roast is not browning
The most common causes are surface moisture, low heat, or an overcrowded pan.
Remove the roast and dry it again. Let the pan heat before adding fresh oil. If the roast is large, brown it in sections rather than forcing it into a small skillet.
The seasoning is burning
Pepper, paprika, garlic powder, and sugar-based spice blends can darken quickly. Lower the heat and use less seasoning during the sear.
You can add more herbs and spices to the slow cooker after browning. If the pan contains black residue, wipe it out before continuing.
The roast sticks to the pan
Meat often releases more easily after a crust forms. Wait another 30 to 60 seconds, then try lifting an edge with tongs.
If the roast is stuck and burning, reduce the heat. A thin spatula may help release the crust without tearing it.
The roast is dry after slow cooking
Dry meat may result from the wrong cut, too much cooking time, too little liquid, or a slow cooker that runs hotter than expected.
For shreddable beef, choose a collagen-rich cut such as chuck roast. For pork, shoulder usually tolerates long cooking better than lean loin. Cut the roast into similarly sized pieces if the recipe allows it, and begin checking for tenderness before the expected finish time.
The cooking liquid tastes bitter
Burned spices, scorched oil, or black fond can cause bitterness. Do not scrape burned material into the sauce.
Use only brown fond. If the skillet is badly scorched, transfer the roast to the slow cooker and make fresh cooking liquid.

How to check that the roast is done
Use an instant-read thermometer to check the thickest part of the meat. Avoid touching bone or the pan.
For whole cuts, the USDA lists these minimum internal temperatures:
- Beef, pork, lamb, and veal roasts: 145°F (63°C), followed by at least a 3-minute rest
- Ground meat: 160°F (71°C)
- Poultry: 165°F (74°C)
These are minimum safety temperatures, not always the final temperatures needed for tenderness. A tough pot roast may need much longer cooking than the time required to reach 145°F.
For slow-cooked chuck roast or pork shoulder, check both temperature and texture. The roast is usually ready for shredding when a fork or thermometer probe enters easily and the meat pulls apart with little effort.
Keep raw meat separate from cooked food. Wash hands, cutting boards, and utensils with hot, soapy water after they touch raw meat. The USDA provides current guidance for safe meat handling and cooking temperatures.
Searing times by roast type
The following times are practical starting points for a 2- to 4-inch-thick roast. They are not strict rules.
| Roast type | Sear time per broad side | Slow-cooking note |
|---|---|---|
| Beef chuck roast | 2–4 minutes | Cook until fork-tender |
| Beef brisket | 3–5 minutes | Fat cap may need extra browning |
| Pork shoulder | 2–4 minutes | Cook until it pulls apart easily |
| Pork loin | 2–3 minutes | Check early because it is lean |
| Lamb shoulder | 2–4 minutes | Add herbs after searing if they scorch |
| Whole chicken pieces | 2–3 minutes | Cook poultry to 165°F (74°C) |
A thick crust is not the goal. Aim for an even brown color on several sides. The slow cooking process will do the main work of tenderizing the meat.

Can you sear a roast the night before?
Yes, but cool and store it safely. Sear the roast, place it in a shallow container, and refrigerate it promptly. Keep the meat at 40°F (4°C) or below.
For best texture and food safety, do not leave the browned roast sitting at room temperature overnight. You can also prepare the vegetables and measured seasonings ahead of time.
When cooking later, follow the slow cooker manufacturer’s guidance. Starting with a very cold insert or a large amount of chilled food can affect how quickly the cooker reaches a safe cooking temperature.
Key takeaways
- Dry the roast well before it touches the pan.
- Use a hot, lightly oiled skillet.
- Brown each broad side for about 2 to 4 minutes.
- Sear in batches if the pan is crowded.
- Do not assume searing seals in juices.
- Deglaze the pan and add the brown bits to the cooking liquid.
- Use only a stovetop-safe slow-cooker insert.
- Cook until the roast is both safe and tender.
- Use a thermometer, especially for pork, poultry, and unfamiliar cuts.
Frequently asked questions
Can I slow cook a roast without searing it first?
Yes. Searing improves browning and flavor, but it is optional. The roast can still become tender in a slow cooker without a sear.
Do I need oil to sear a roast?
Usually, a small amount of oil helps transfer heat and prevents sticking. Well-marbled meat may release some fat, but a teaspoon or two of neutral oil can still make browning more even.
Can I sear a frozen roast?
Do not try to sear a frozen roast as a substitute for safe thawing. The outside can brown while the inside remains frozen. Thaw the roast in the refrigerator before searing and slow cooking.
Should the fat side face up or down?
For a roast with a noticeable fat cap, sear the fat side first if it fits the pan. During slow cooking, place the roast according to the recipe. Fat can add flavor, but it will not prevent overcooking.
Can I use butter to sear the roast?
Butter can burn during high-heat searing. Use a high-heat oil first, then add a small amount of butter near the end for flavor if desired.
Final answer
The best way to sear a roast before slow cooking is to dry it, season it, and brown it in a hot skillet for 2 to 4 minutes per broad side. Transfer it to the slow cooker, deglaze the skillet, and add the browned liquid to the pot. Then cook the roast until it reaches a safe temperature and becomes tender.
For the best result, focus on a dry surface, a hot pan, enough space, and careful temperature control. Searing is a flavor step—not a way to seal in moisture—and the slow cooking time should be guided by both food safety and tenderness.
See more about Slow Cooker Meal Prep Ideas: Easy Make-Ahead Recipes