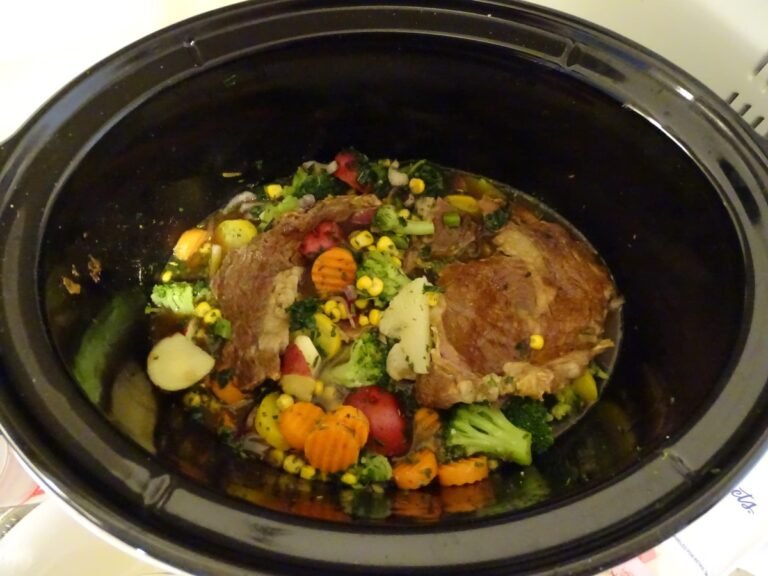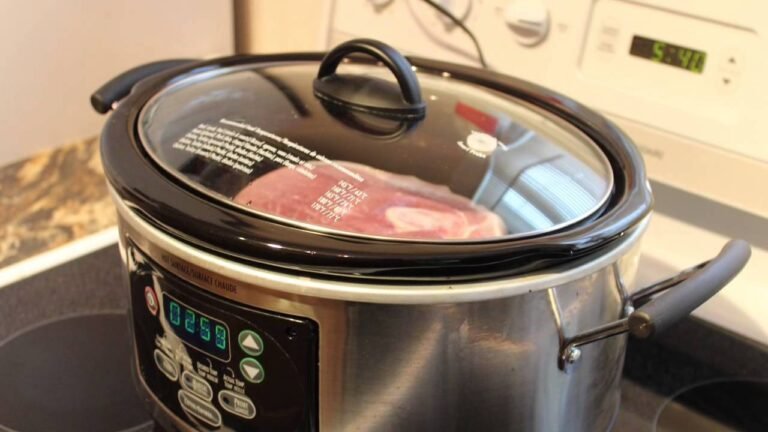
Slow cooking uses low, steady heat over hours to break down tough meat and meld flavors. In the U.S., home cooks use electric slow cookers (often called Crock-Pots), low‑oven braises, or simmering on a stovetop to make stews, pulled meats, and soft vegetables with little hands‑on time.

Essential definitions and USA context — what slow cooking is and why Americans use it
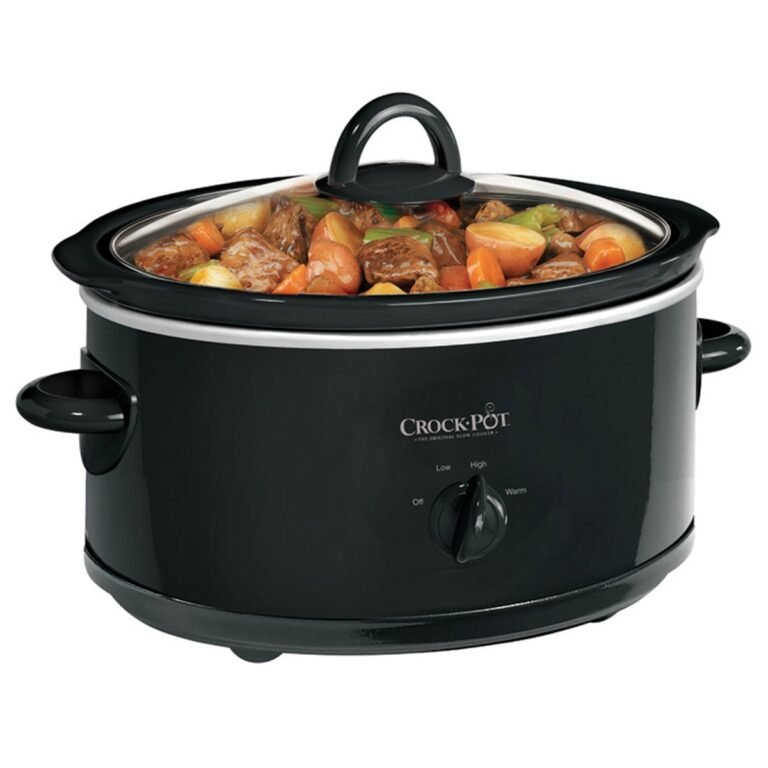
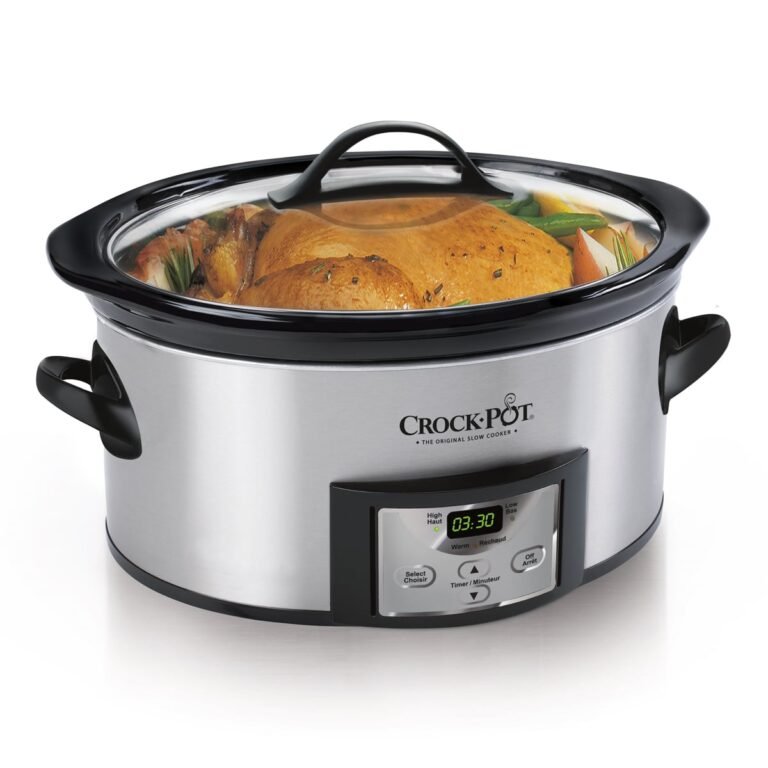
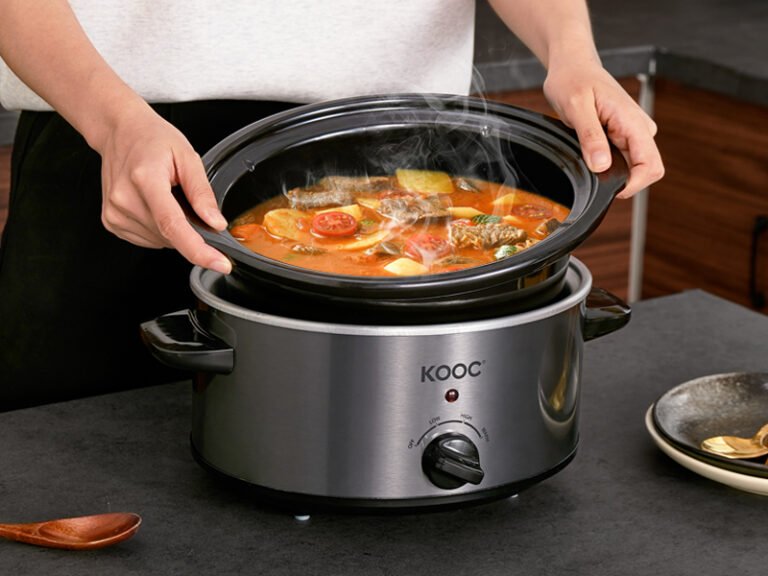
Slow cooking means cooking food at low heat for a long time. In many U.S. kitchens people rely on a plug‑in slow cooker or a Dutch oven in a low oven. The method suits tougher cuts of meat and dried beans. It saves time while you do other tasks.
Key temperature ranges (approximate):
- Low setting: about 170–200 °F (77–93 °C).
- High setting: about 250–300 °F (121–149 °C).
- Warm/holding: about 165 °F (74 °C).
Food safety note for U.S. cooks: avoid leaving food between 40 °F and 140 °F for long. Aim to get the food above safe temperatures within a few hours. For poultry, reach 165 °F. For shred‑ready pork or beef, you often cook to higher temperatures (around 190–205 °F) to melt connective tissue.

How to slow cook — prerequisites, step‑by‑step method, and signs of success
Quick answer: prepare ingredients, add enough liquid, keep the lid closed, and cook low and long until tender.
Prerequisites
- A slow cooker, or a heavy oven‑safe pot with lid (Dutch oven).
- A meat thermometer.
- Ingredients thawed and prepped.
- A level, heat‑safe surface and working outlet.
Step-by-step method
- Trim excess fat and cut large pieces into even sizes.
- Optional: brown meat in a skillet. Browning adds flavor but is not required.
- Place a light layer of aromatic vegetables (onion, garlic, carrot) in the pot. Put meat on top.
- Add liquid. For a stew, add enough to almost cover. For a braise, fill 1/3 to 1/2 way up the meat. For soups, add more.
- Cover tightly. Set cooker to Low or High per recipe. Low for long, gentle cooks; High for faster cooks.
- Do not lift the lid during cooking. Each lift drops the temperature and adds 15–30 minutes.
- Check doneness near the lower end of the time range. Use a thermometer and a fork test. Meat is done when it is fork‑tender and at the target temperature.
Signs of success
- Meat pulls apart easily with a fork (for pulled pork or pot roast).
- Vegetables are soft but not mushy.
- Sauce is concentrated and glossy.
- Internal temperature meets USDA guidance (poultry 165 °F; other meats as the recipe directs).
Variables, examples, and a simple decision table
What changes time and outcome: cut of meat, size, liquid amount, cooker model, and whether you seared first.
Common examples (typical U.S. home ranges):
- Chicken thighs (boneless): Low 4–6 hours. Target 165 °F.
- Whole chicken (3–4 lb): Low 4–6 hours. Check breast temp 165 °F.
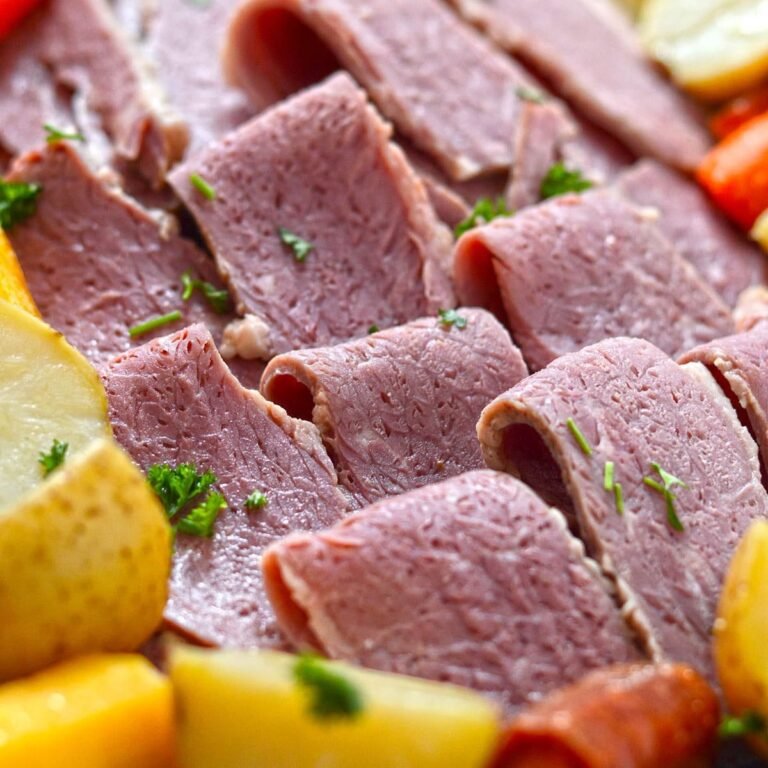
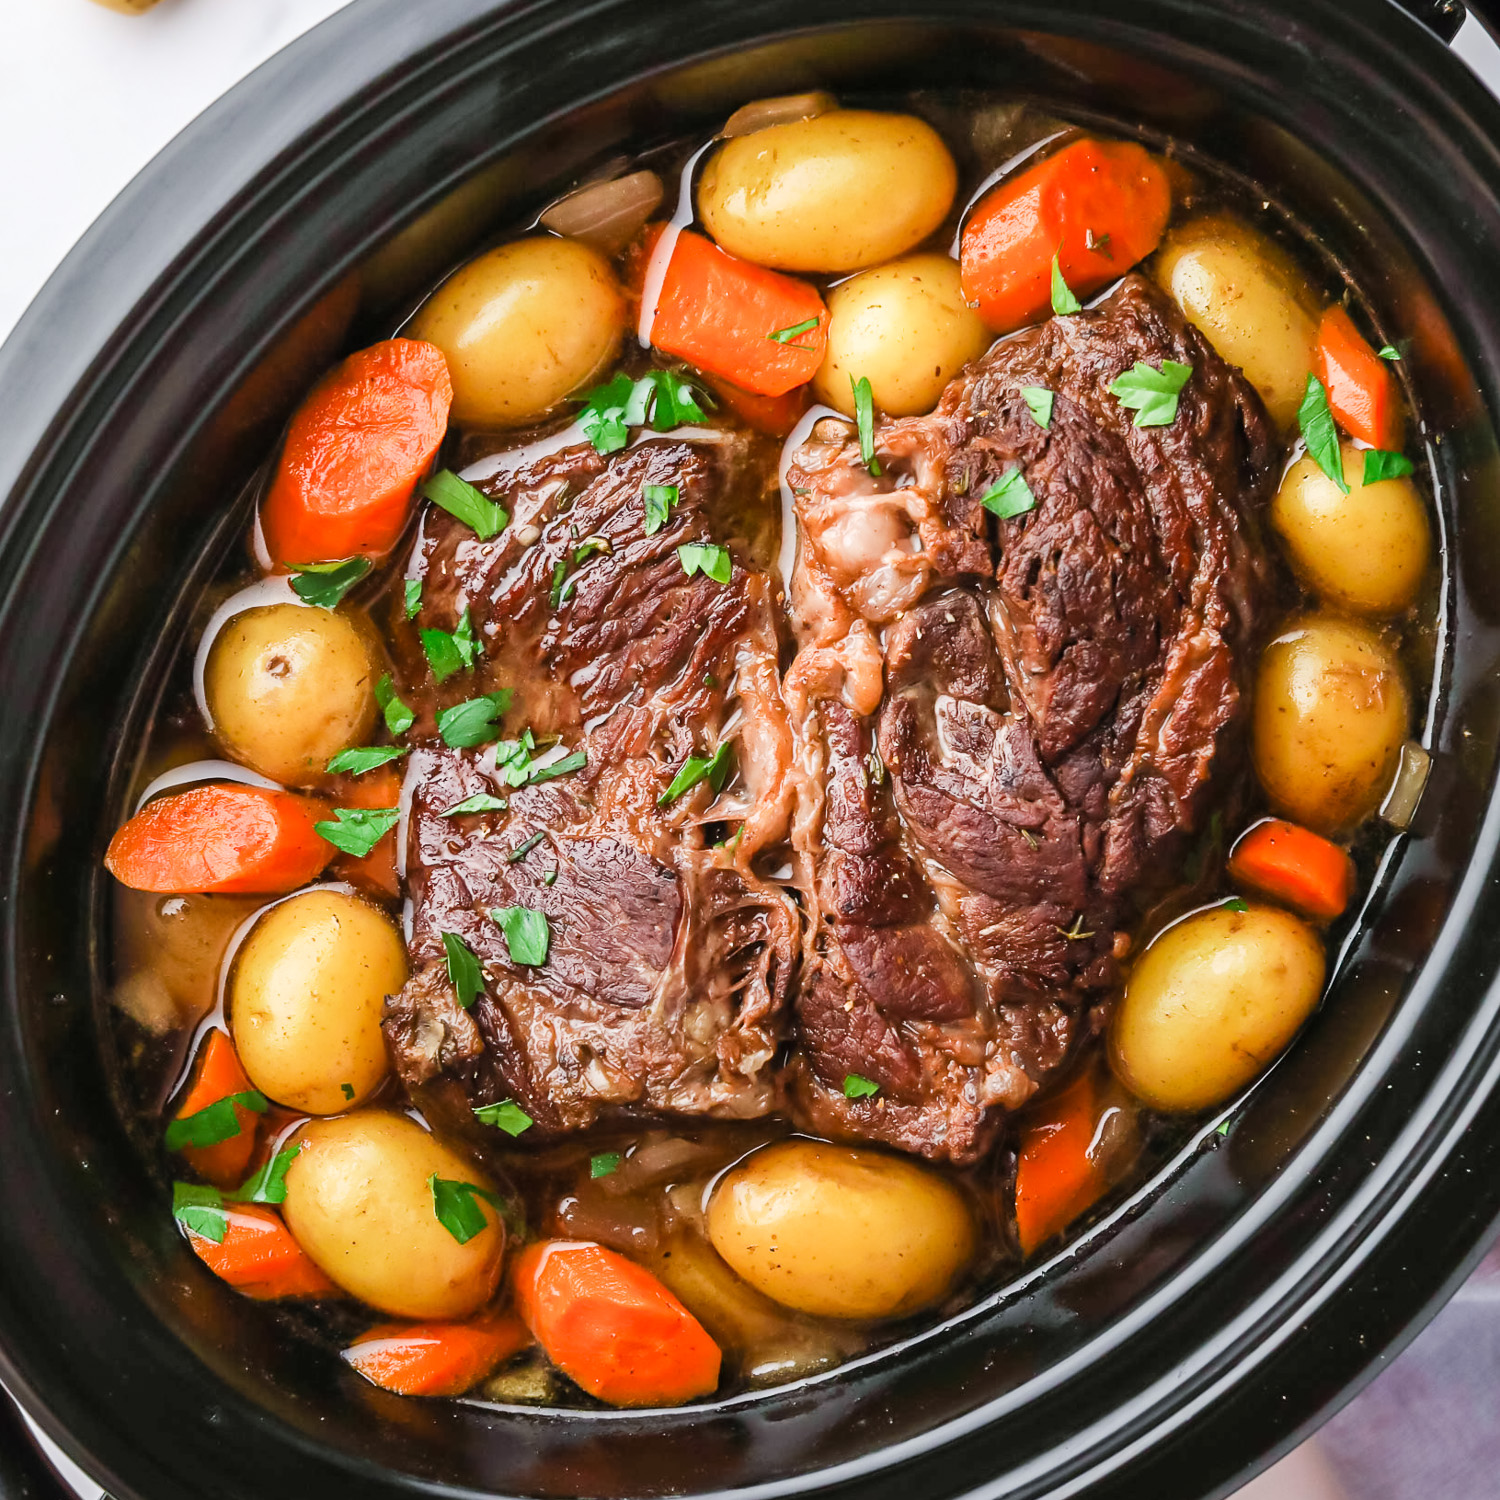
- Beef chuck roast (3–4 lb): Low 8–10 hours for fork‑tender roast. For shredding, aim for 190–205 °F.
- Pork shoulder (3–6 lb): Low 8–10+ hours for pulled pork textures.
- Stew beef pieces: Low 6–8 hours.
- Dried beans: Low 6–8 hours after soaking as directed.
Liquid guidelines
- Stews/soups: add enough to cover solid items.
- Braises: liquid should reach about 1/3 to 1/2 of the meat height.
- Remember: unlike stove simmering, a slow cooker loses little steam. Use less liquid than stovetop recipes.
Fill level and cooker size
- Best fill: about 1/2 to 2/3 full. Too full reduces heat circulation. Too empty causes overcooking or burning.
Quick decision guide
- Want hands‑off, tender results and have time? Use Low for longer.
- Short on time? Use High, but expect firmer texture.
- Need shreddable meat? Cook longer until connective tissue dissolves (higher internal temp).

Common mistakes, exceptions, limits, and safety boundaries
Common mistakes
- Lifting the lid often. Each lift adds time.
- Overfilling or underfilling the pot. Both change cooking time.
- Using thin, lean cuts for long slow cooks. They can dry out.
- Putting frozen meat straight into the slow cooker. This can delay safe heating and keep food too long in the danger zone.
Safety and limits
- Follow the 40–140 °F rule: minimize time in that range. If you must use frozen items, thaw first.
- Use a thermometer to verify safe internal temps. For poultry, 165 °F is required.
- If you cook on High to speed things, check the texture; High can make some cuts dry.
- Leftovers: cool quickly and refrigerate within 2 hours. Reheat to 165 °F before serving.
Equipment cautions
- Use the slow cooker per its manual. Do not operate with a cracked insert.
- Place on a heat‑resistant surface and keep vents clear.
- Replace cords or units with frayed wiring.
Troubleshooting — symptoms, likely causes, and ordered checks
Symptom: Dish too watery
- Cause: Too much liquid or cooker lid kept on too long at High; less reduction happens.
- Fix: Remove lid for the last 30–60 minutes to reduce, or thicken with a slurry (cornstarch + cold water) in the final 15–30 minutes.
Symptom: Meat still tough after long cook
- Cause A: Not cooked long enough for that cut.
- Cause B: Cooker too cool or overfilled.
- Fix: Continue cooking on Low. Check internal temp and texture. If lean muscle, it may never “fall apart” and will remain firm.
Symptom: Undercooked center (cold or raw inside)
- Cause: Large pieces, frozen start, or cooker not heating.
- Checks: Confirm meat was thawed. Use thermometer in center. Try Preheat: heat cooker for 15 minutes empty before adding ingredients next time. Consider cutting large pieces in half.
Symptom: Burnt bottom or scorching
- Cause: Too little liquid, too high heat, thin insert, cooking on Warm for too long.
- Fix: Move food to new pot. Inspect insert. Use more liquid next time and cook on Low.
If the slow cooker appears not to get hot
- Unplug and test outlet with another device. Check fuse/circuit. Replace cooker if it fails safety tests.

Follow-up questions and next actions (what readers often ask next)
Observed or inferred next needs:
- “What cuts are best for slow cooking?” — OBSERVED QUESTION in many recipe forums. Competitors often list cuts but omit why connective tissue matters. Answer: choose cuts with more collagen (chuck, shoulder, brisket). The collagen melts to gelatin at long, low heat and gives texture. (Answered above.)
- “How to adapt oven braises to a slow cooker?” — INFERRED NEXT NEED. Short answer: reduce liquid slightly and lower oven liquid since slow cookers lose less steam. Place meat on vegetables. Cook low and long.
- “Can I put dairy in a slow cooker?” — OBSERVED. Many guides miss timing. Add milk/cream near the end to avoid curdling.
- “How to convert canned‑soup recipes?” — INFERRED. Reduce added liquid and watch cook time; many canned soup bases are salty and thin.
Priority additions for readers
- Cut recommendations with reasons (high). Placed above.
- Dairy timing and how to finish sauces (medium). Addressed: add late.
- Clear thawing and food‑safety checklist (high). Addressed in safety section.
Next action for the reader
- If you have a recipe: read its time and temp. Prep ingredients. Set the cooker on Low overnight or while at work only if the recipe and ingredients are suitable. Use a thermometer to confirm doneness. If unsure about safety, err on the side of reheating to 165 °F before serving.

Key takeaways
- Slow cooking uses low heat and time to tenderize and flavor food.
- Use the right cut, enough but not too much liquid, and keep the lid closed.
- Use a thermometer and follow U.S. food‑safety rules: avoid long stints in the 40–140 °F danger zone and refrigerate leftovers quickly.
FAQs
Q: Can I start slow cooking from frozen meat?
A: No. Thaw first. Frozen meat delays safe heating and can keep food too long in the danger zone.
Q: Do I need to brown meat first?
A: No, but browning adds flavor. It is optional if you want faster prep.
Q: How full should the slow cooker be?
A: Aim for 1/2 to 2/3 full. That keeps heat circulation and prevents overflows.
Q: Can I leave a slow cooker on while I’m at work?
A: Yes, if the recipe is low‑risk, the cooker is in good condition, and you follow safety rules. Do not rely on this if ingredients were frozen or the recipe is untested.
Q: How do I thicken a slow cooked sauce?
A: Toward the end, remove lid to reduce, or stir in a slurry of 1 tbsp cornstarch + 1–2 tbsp cold water per cup of liquid and cook 15–30 minutes more.
Final recommended next step: try a simple recipe—chicken thighs with vegetables on Low for 5 hours—and check internal temp before serving.